POP3 (Post Office Protocol 3) and IMAP (Internet Message Access Protocol) are the two main protocols used by applications to send and receive email. HostPapa’s email services support both types of connection. You can find out the differences between the two and which is best for your needs in this knowledge base article: What are the differences between POP3 and IMAP?
If you decide to change your iOS email account from using a POP3 connection to an IMAP connection, you can do so in a few simple steps.
1. Back up your mailboxes
Switching from a POP3 connection to IMAP can result in your existing email being deleted, so you should create a backup of your mailboxes to avoid losing anything important. We advise that you backup your email on a Windows PC or Mac, using the instructions in the most relevant knowledge base article for your setup:
- How to change an account from POP to IMAP in Outlook 2016
- How to change an account from POP to IMAP in Outlook 2016 for Mac
- How to change an account from POP to IMAP in Apple Mail
2. Delete your POP account from your computer
With the backup completed, you can now delete the POP account on your iOS device. You should also delete the account on other devices you use for email.
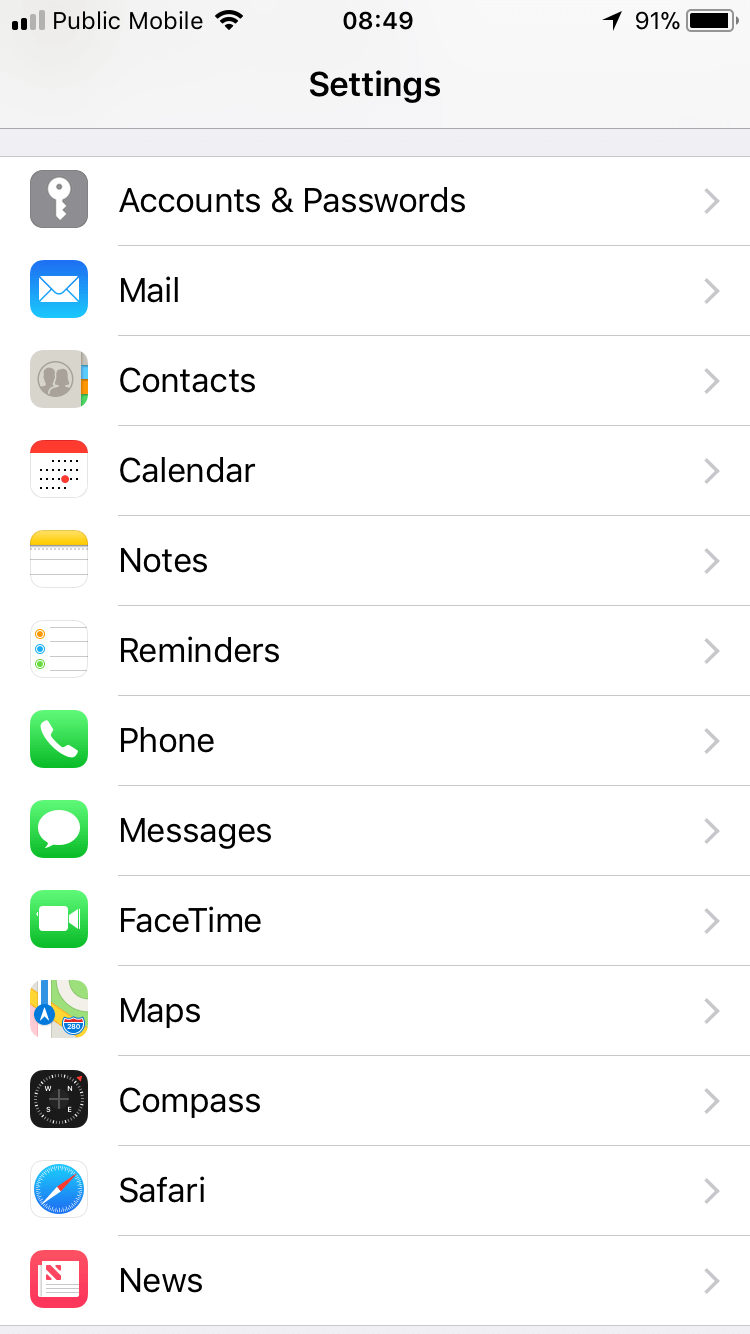
Open the iOS Settings menu and tap Accounts & Passwords.
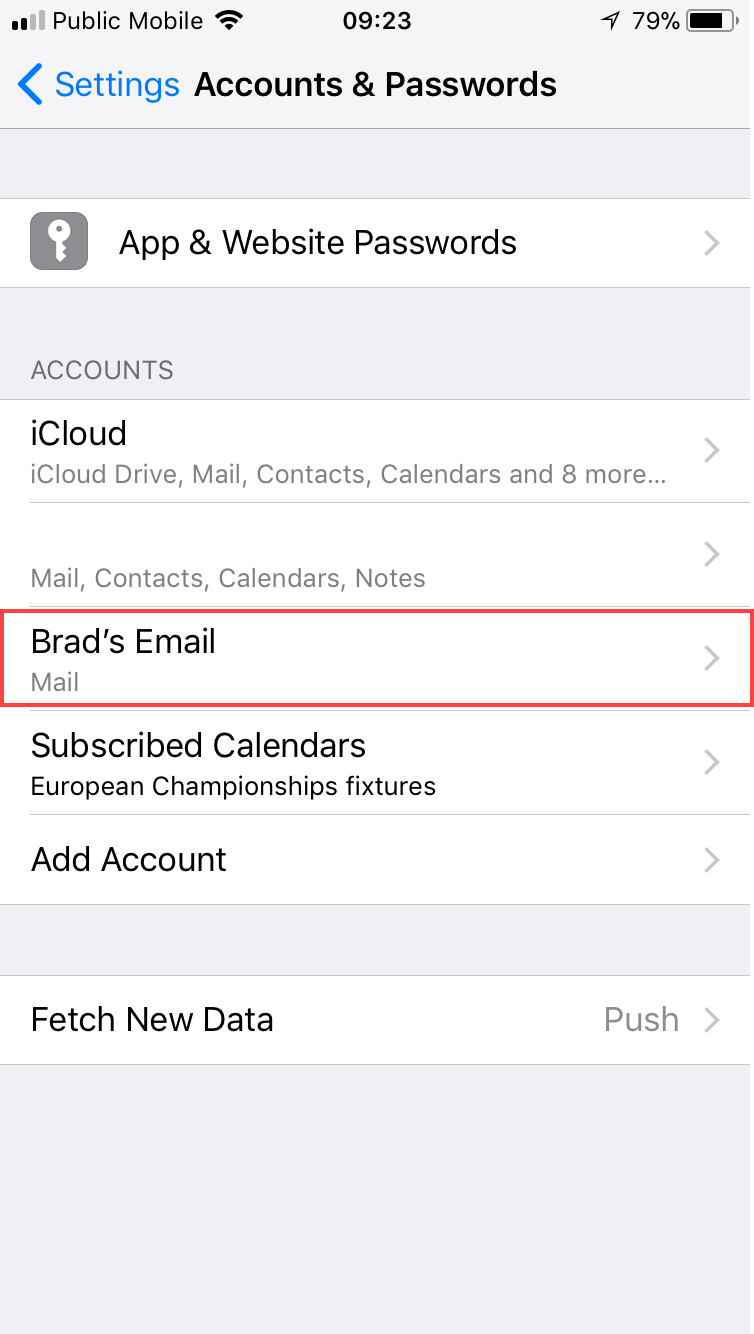
A list of your email accounts will be displayed. Tap the account you wish to delete.
The account details will be presented on screen. Tap Delete Account to proceed.
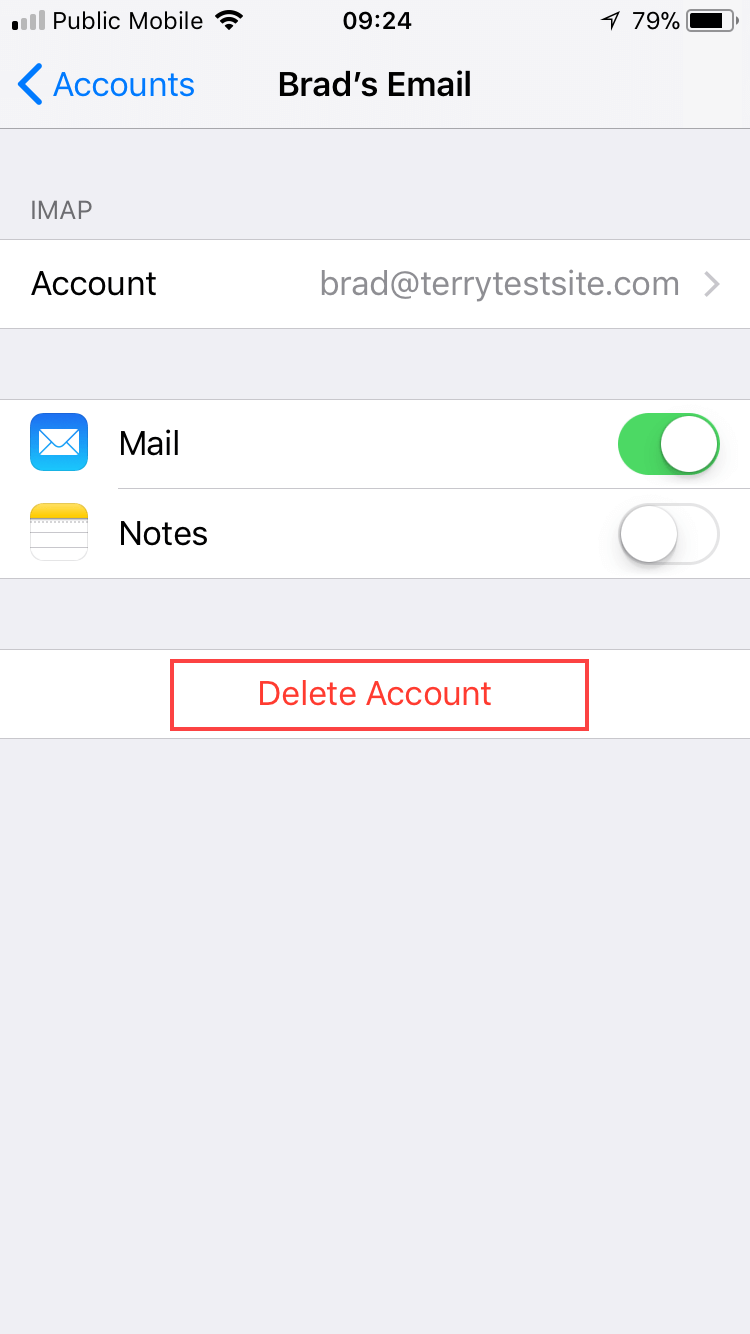
You will be asked to confirm your selection. Tap Delete Account once again to do so.
3. Set up your IMAP account on your device
You can add your IMAP email account on your device using your email server details. Find your server settings in your HostPapa Dashboard by heading to My cPanel > Email Accounts and selecting Set Up Email Client.
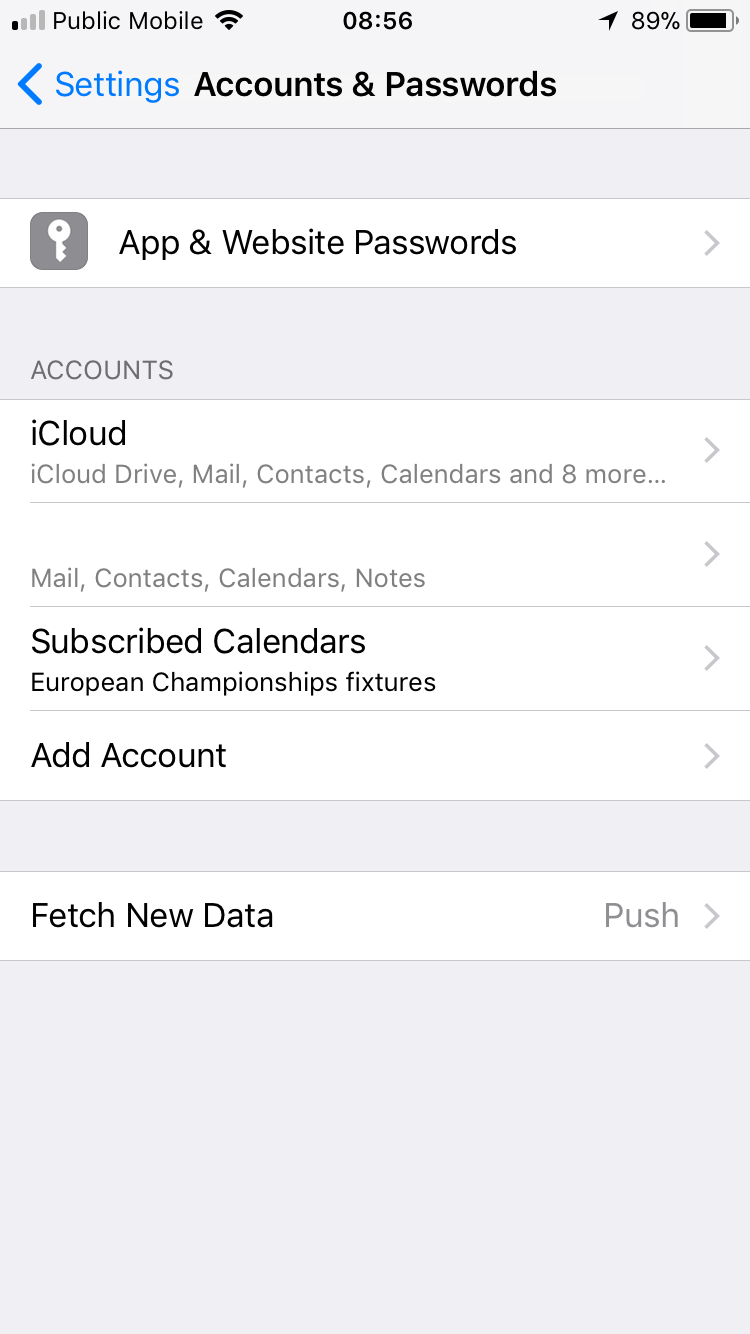
On your iOS device, head to the Settings menu once again and tap Accounts & Passwords. In the Accounts & Passwords menu, tap Add account.
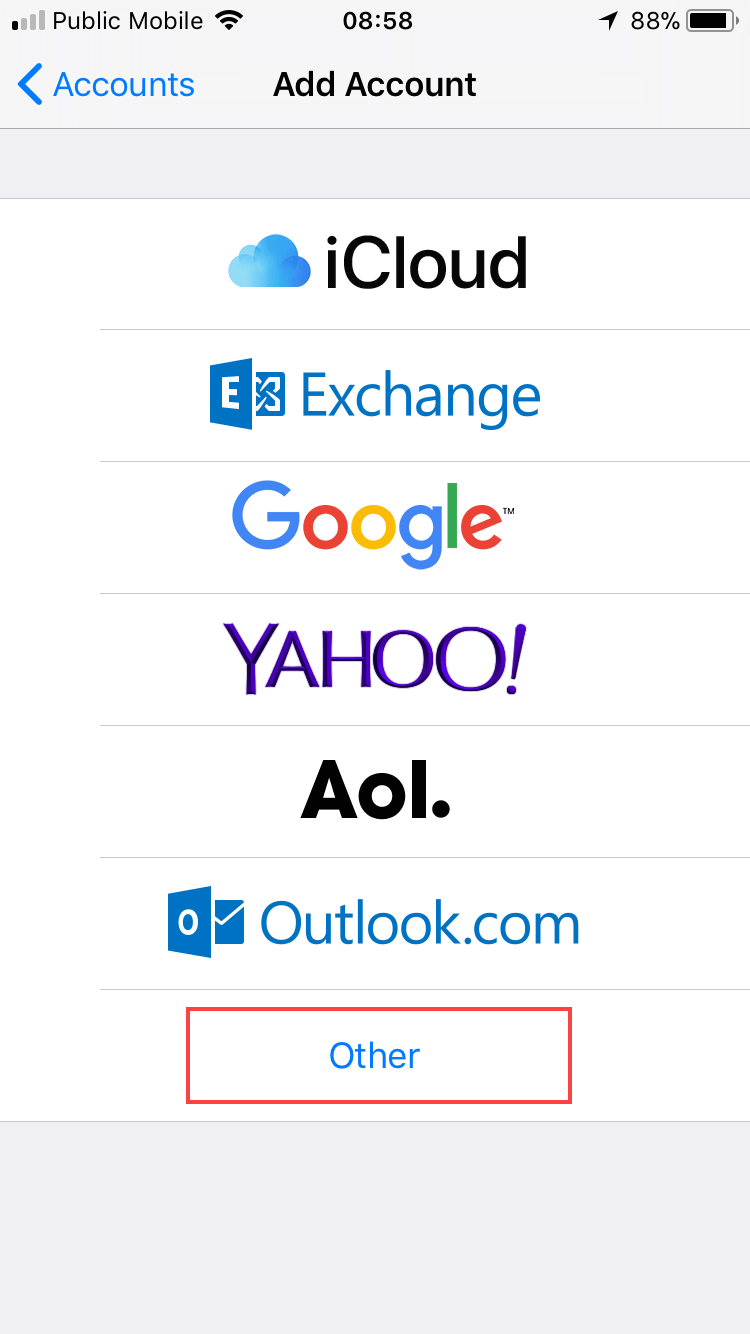
A list of email providers will appear.
For HostPapa IMAP accounts, select Other.
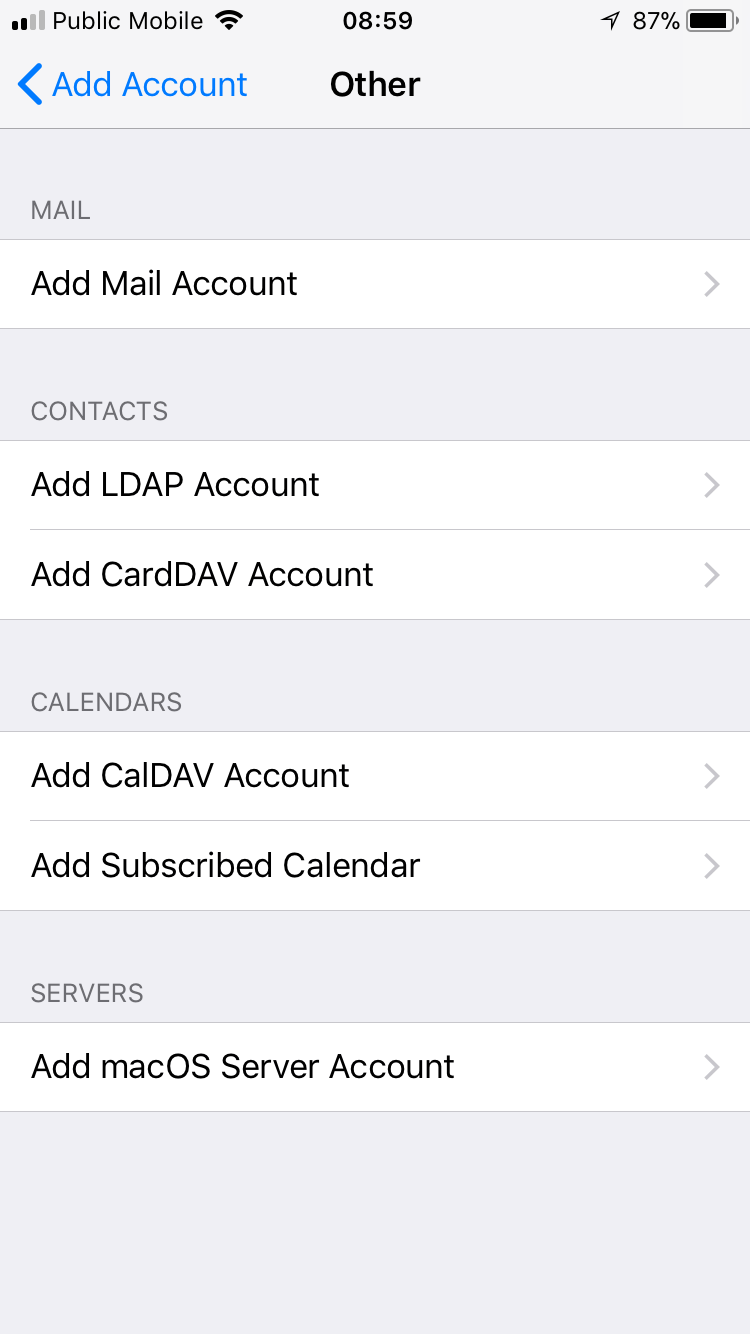
Now tap Add Mail Account.
Enter the following details:
- Name: Enter the sender name you’d like to appear on your emails.
- Email: Your full email address.
- Password: Your email account password.
- Description: A description to identify the account.
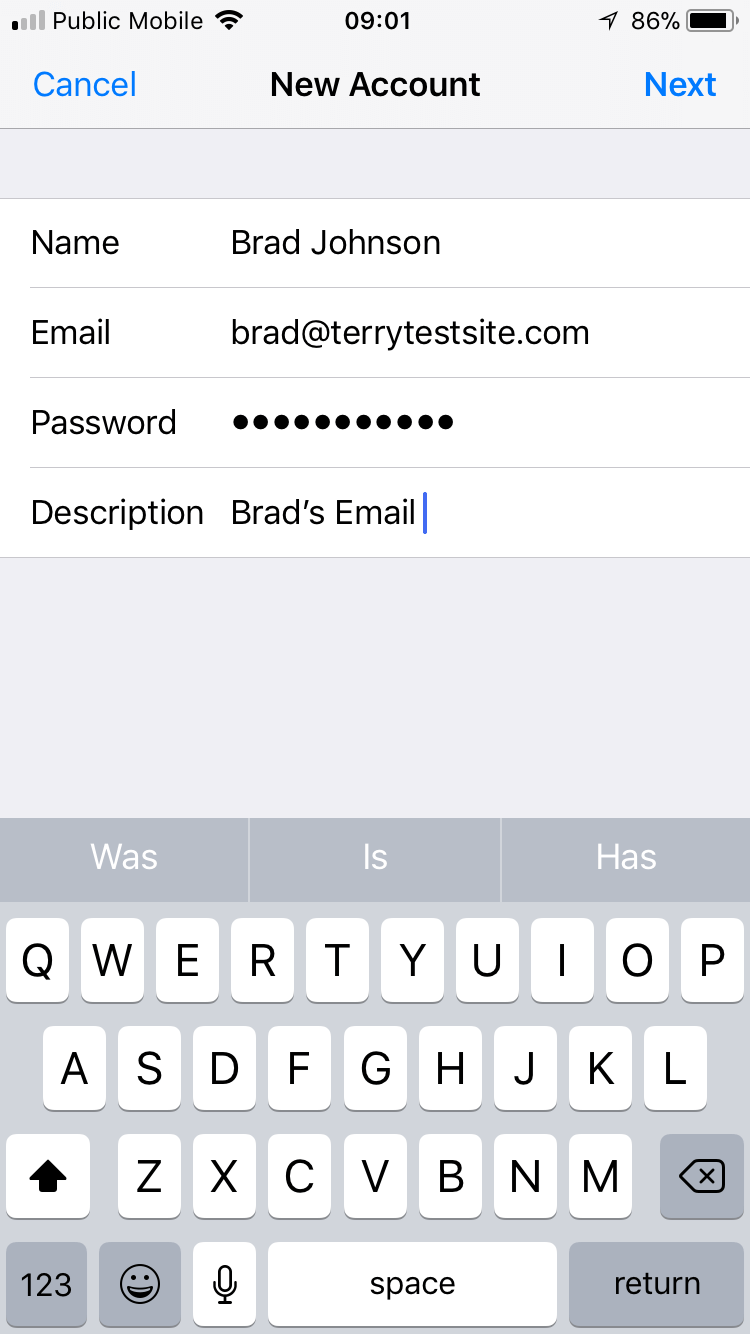
Tap Next to continue.
Ensure the IMAP tab is selected in the New Account screen. Your selection will be highlighted in blue.
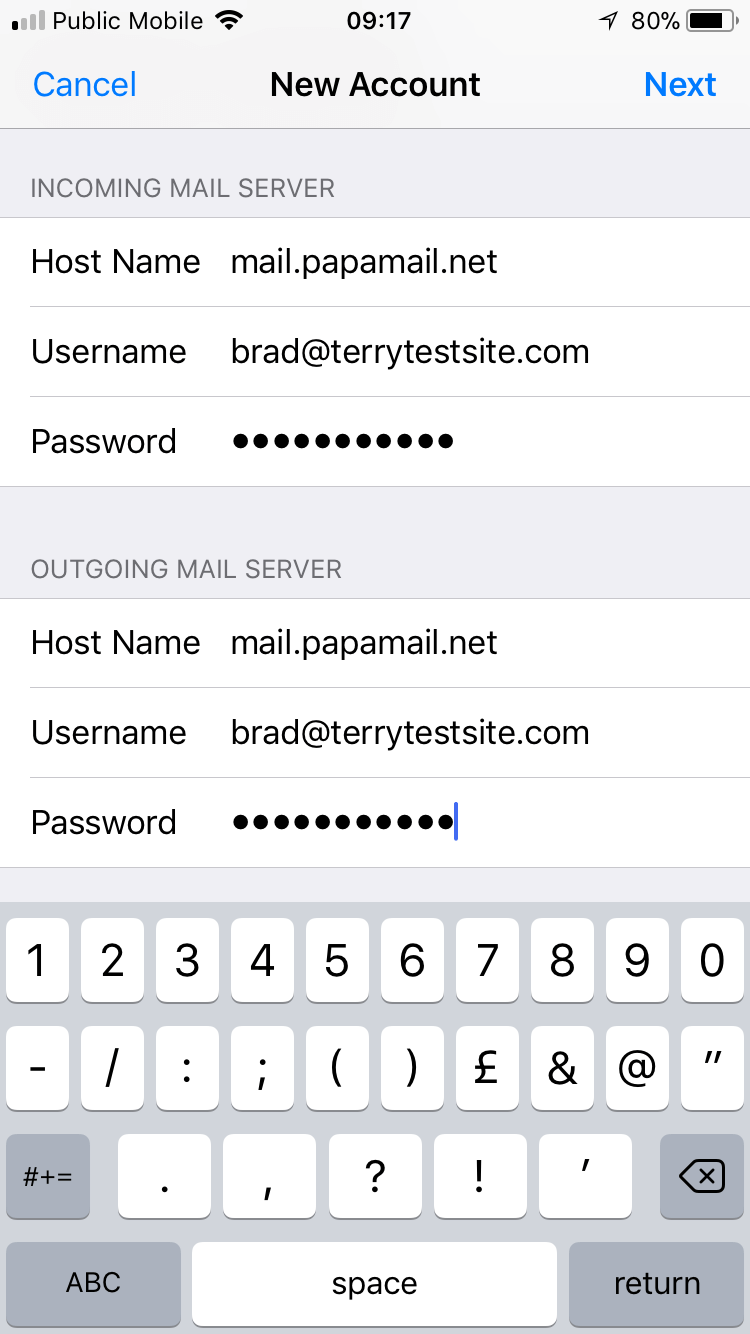
For the Incoming Mail Server configuration, enter the following details:
- Host Name: For HostPapa Basic and Advanced IMAP accounts, use mail.papamail.net. For domain hosted services, check your email server details in cPanel.
- Username: Your email account username.
- Password: Your email account password.

For the Outgoing Mail Server configuration, enter the following details:
- Host Name: For HostPapa Basic and Advanced IMAP accounts, use mail.papamail.net. For domain hosted services, check your email server details in cPanel.
- Username: Your email account username.
- Password: Your email account password.
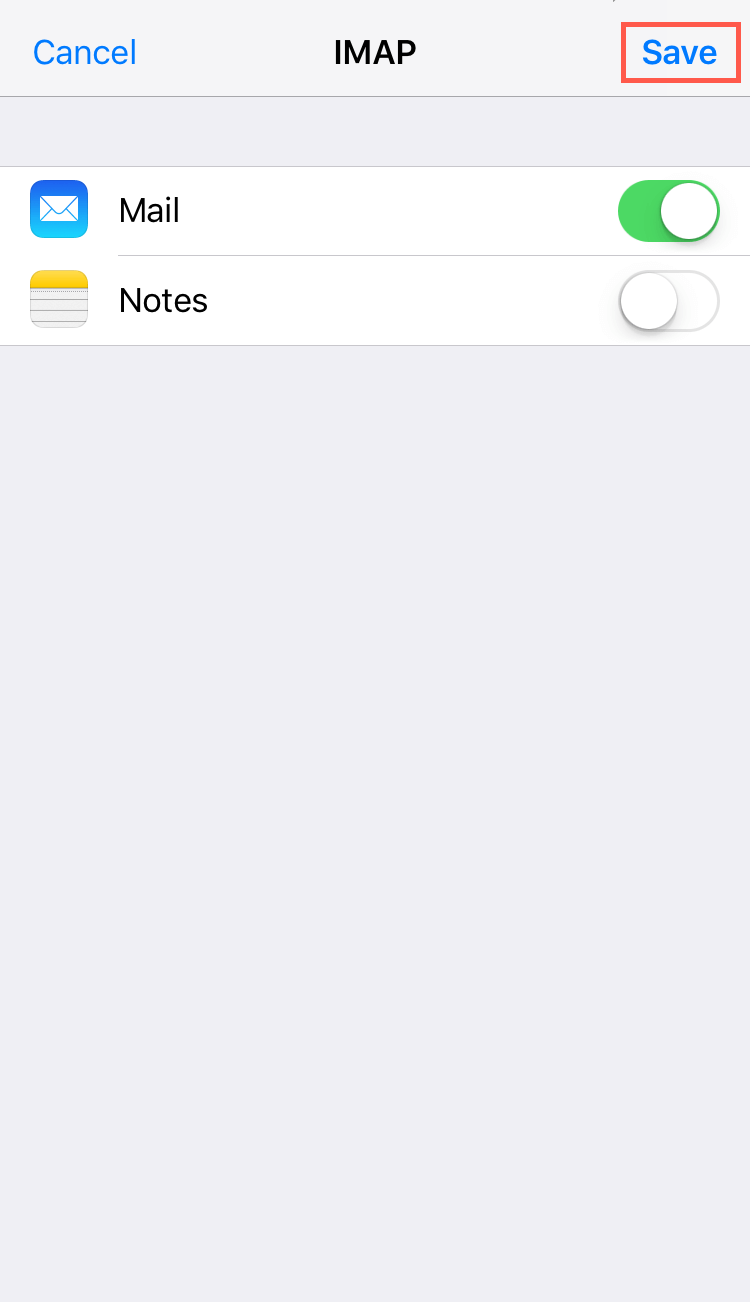
Tap Next to continue, then Save to verify the details entered.
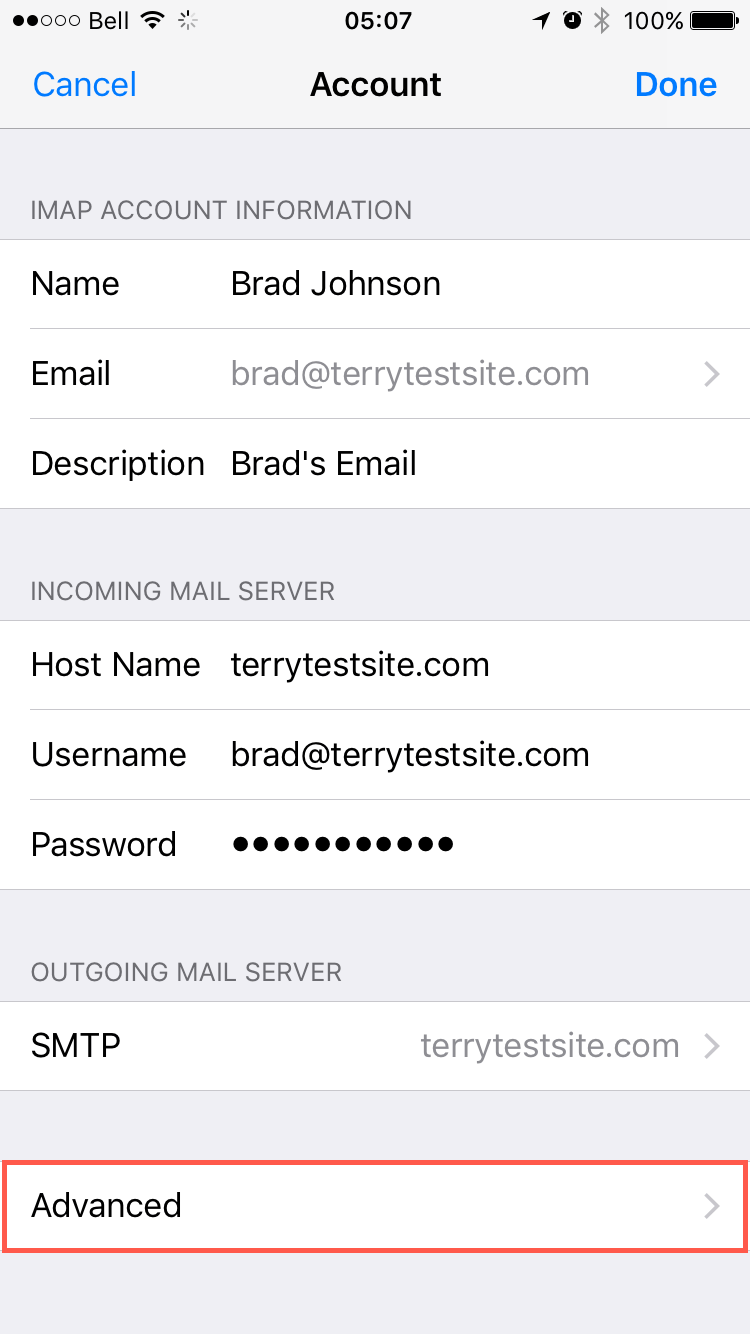
You will be redirected to the Accounts screen. Tap your newly created account to continue, then tap your email address in the screen that follows.
In the Account details screen, scroll down and tap Advanced.
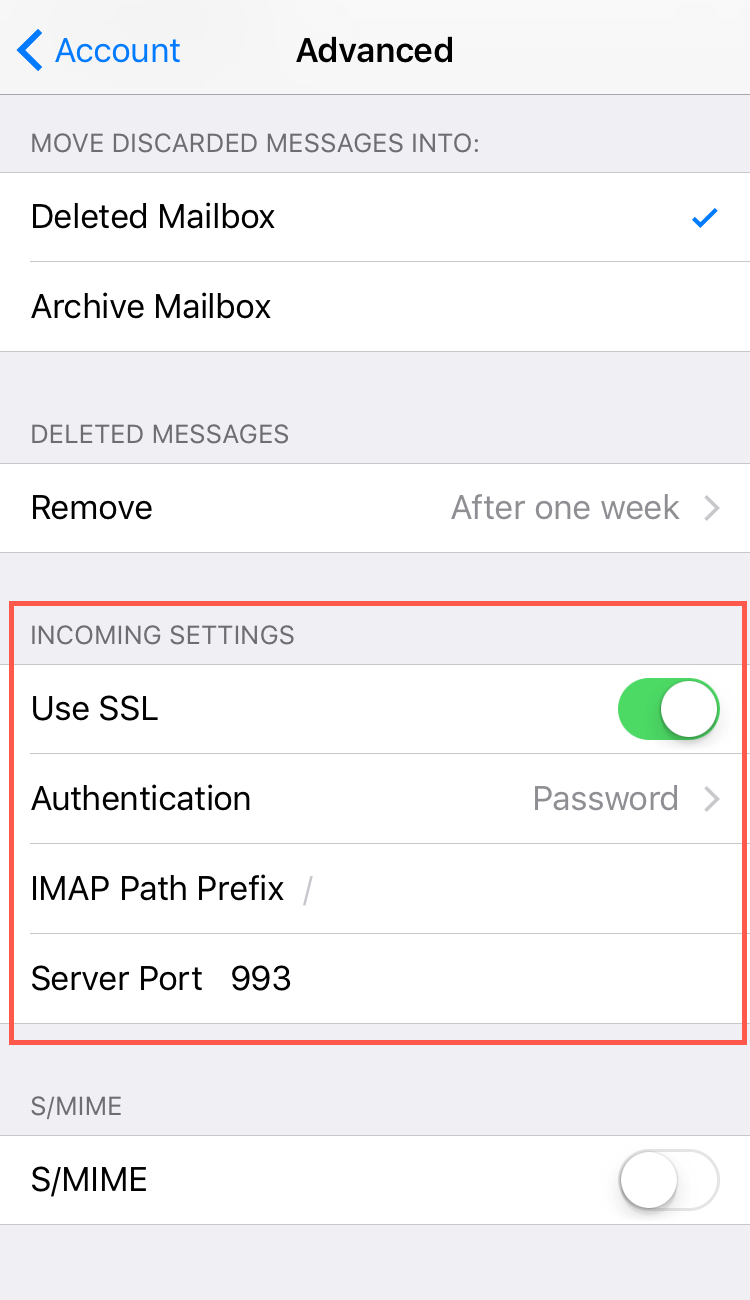
Enter the following details:
- Incoming settings: Ensure the Server Port is set to 993 for IMAP accounts. Ensure Use SSL is also selected.
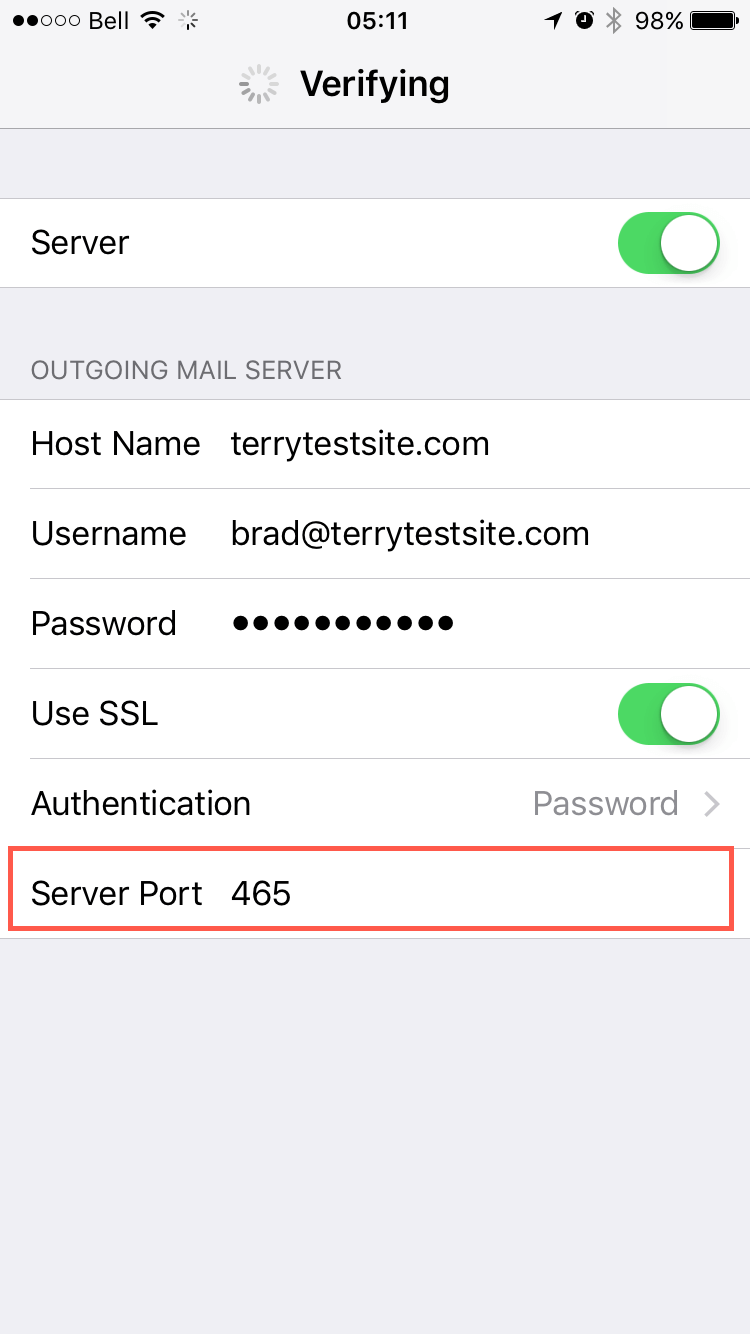
Return to the previous menu by tapping the Account button at the top of the screen. Scroll down to Outgoing Mail Server and tap the SMTP entry with the server’s host name. Tap the host name again, which will be listed under Primary Server.
Enter the following details:
- Outgoing mail server: Ensure the server port is set to 465 for IMAP accounts. Ensure Use SSL is also selected.
Tap Done. The server details will now be checked and your email account should be available for use.
If you notice any problems or if you need any help, please open a support ticket from your Dashboard. More details on how to open a support ticket can be found here.
