HostPapa’s email services support both POP and IMAP accounts, which are protocols used to send and receive emails.
Tip: To learn the difference between POP and IMAP and which one is best for your needs, check out our knowledge base article.
If you want to change your Outlook email account from a POP3 connection to an IMAP connection, you can do so in a few simple steps.
In this article, we’ll show you how to back up your mailboxes, delete your POP account, set up your IMAP account settings, and restore your mailbox. These steps will work for Outlook 2013, Outlook 2016, Outlook 2019, and Outlook 365.
Back up your mailboxes
Switching from a POP3 connection to an IMAP account could delete your existing emails. To avoid losing anything important, you should create a backup of your mailboxes.
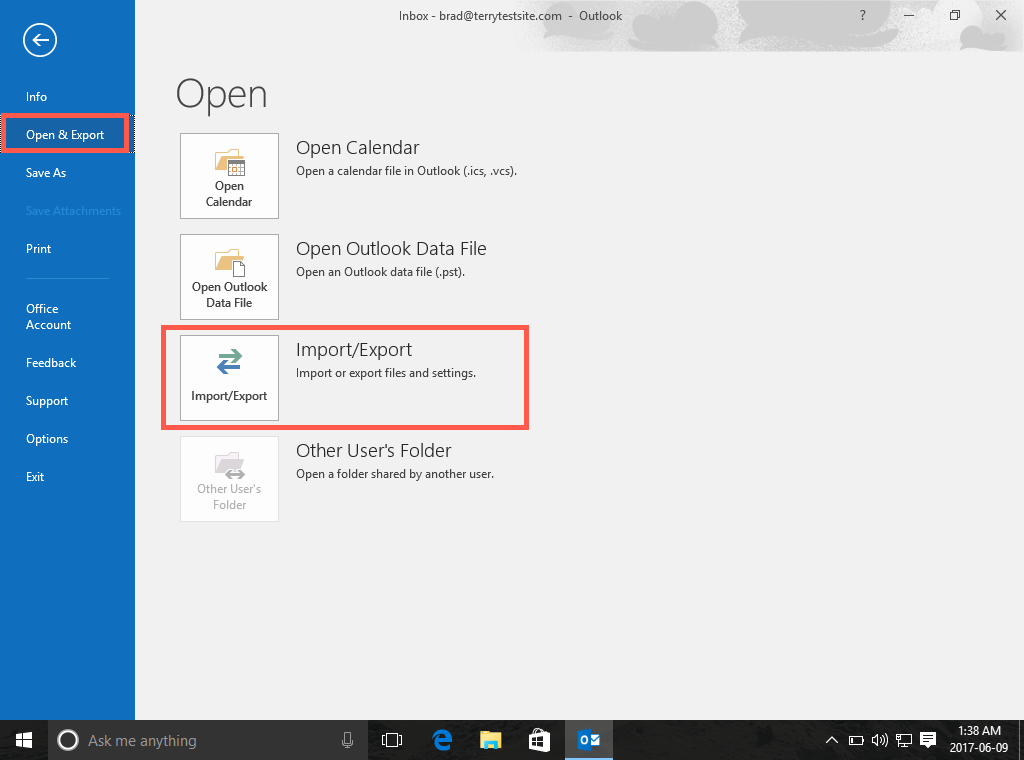
- Open Outlook and select File.
- Select Open & Export, then Import/Export.
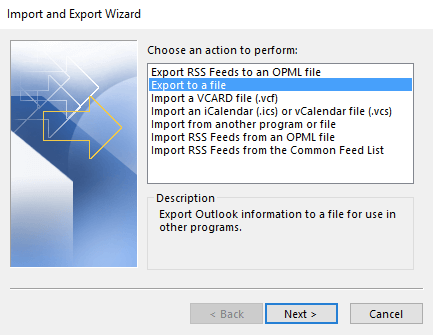
3. In the Import and Export window, select Export to a file and click Next >.
4. Click Export to a File in the next window, then select Outlook Data File (.pst).
5. Click Next >.

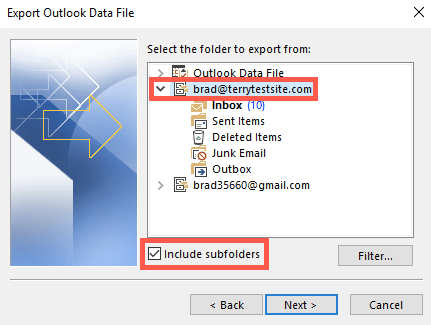
6. Select the mailboxes you’d like to back up. We recommend that you backup all your mailboxes. Select your email address in the Export Outlook Data File window and check the box next to Include subfolders.
7. Click Next > to continue.
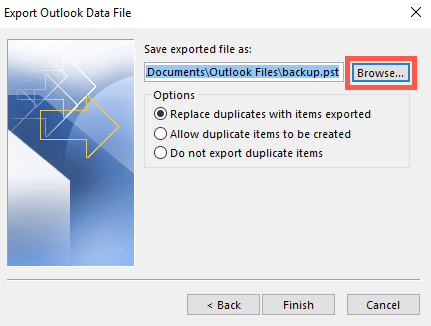
8. Use the Browse button to select a location on your computer to save your backup.
9. Click Finish to continue.
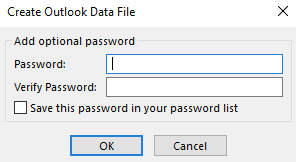
10. To keep your backed-up emails secure, you can create an optional password for the file. If you’d like to create a password, enter it now and click OK, or Cancel to proceed without a password.
Your backed-up emails will now be saved to your computer.
Delete your POP account from your computer
Now that your email backup is complete, you can delete your POP account in Outlook. You should also delete the account from any other devices you use for email.
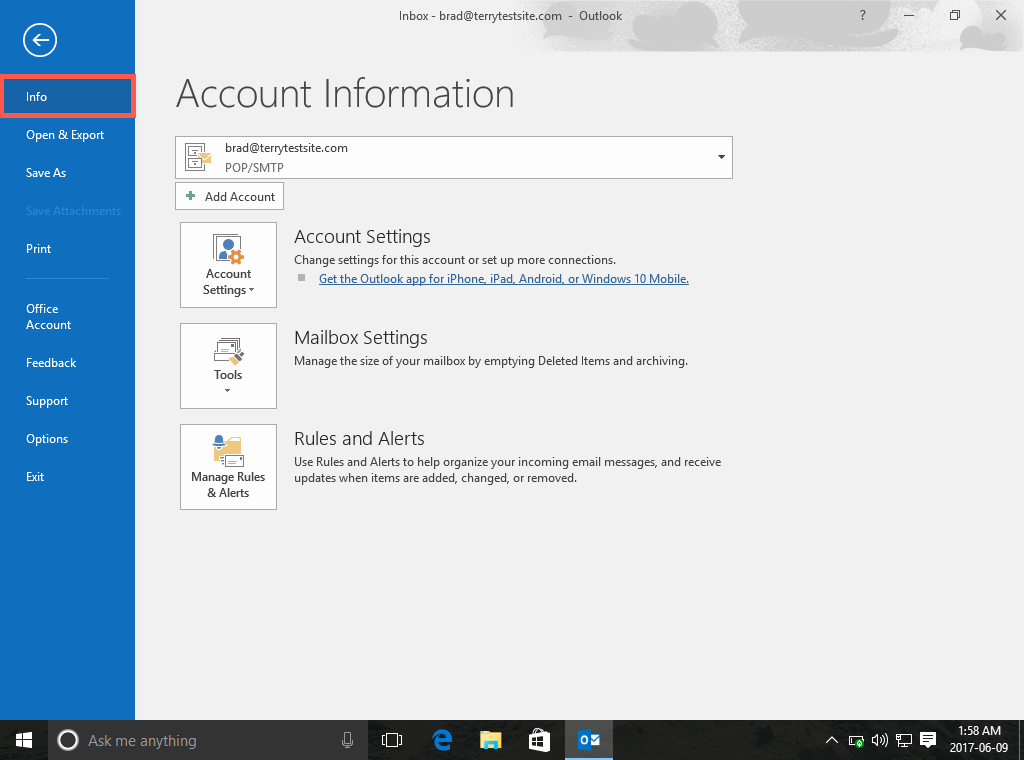
- Select File from the top menu, then Info.
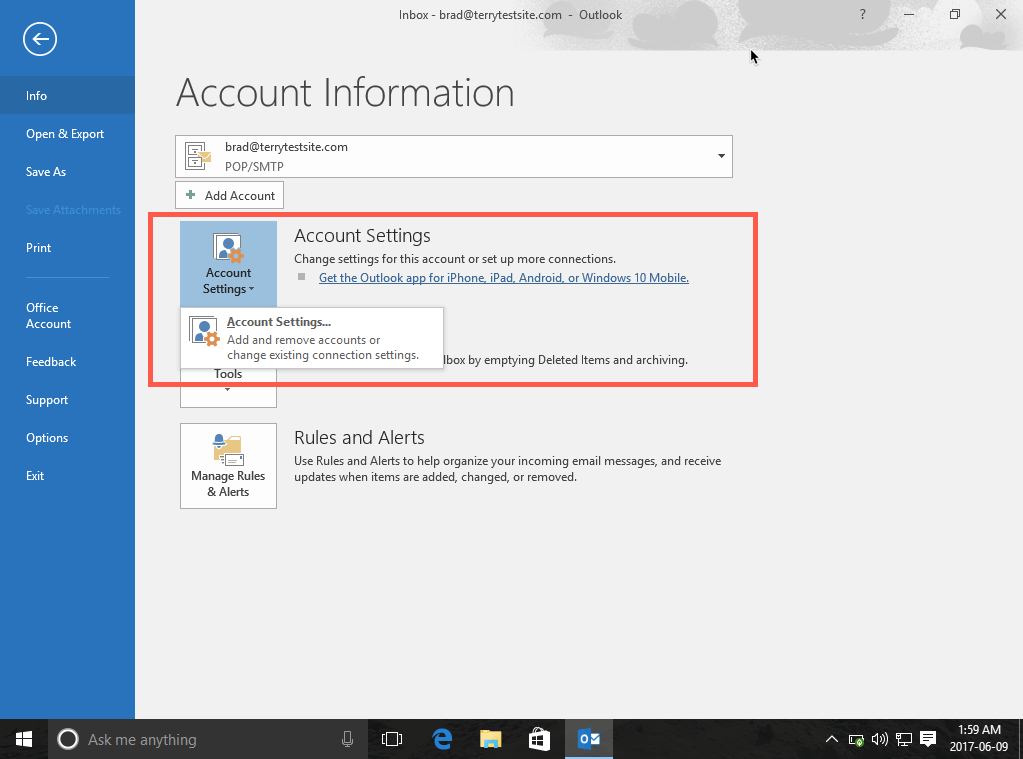
2. Click the arrow next to Account Settings and select the Account Settings… option.
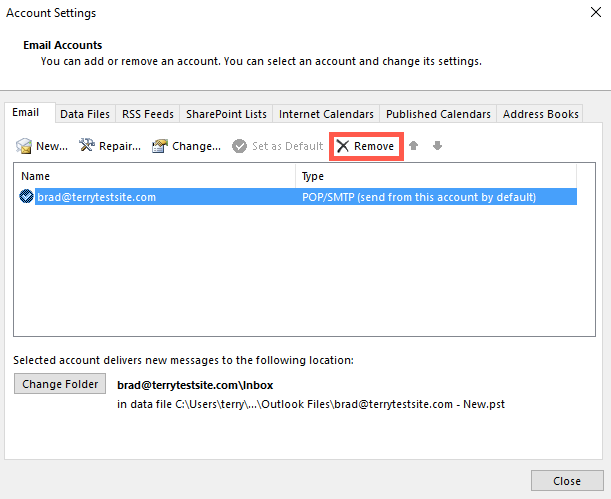
3. In the Account Settings window, click on your email account.
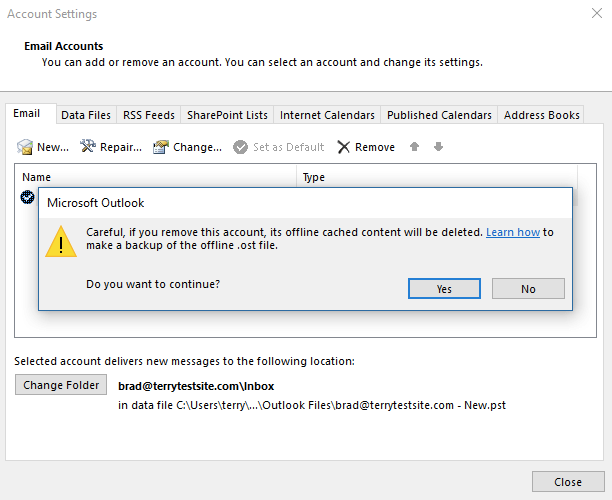
4. Click Remove to delete your email account from Outlook.
5. You will receive a warning that your offline messages will be deleted. Click Yes to continue.
Set up your IMAP account on your computer
The final step is to create a new email account on your computer using your IMAP server details.
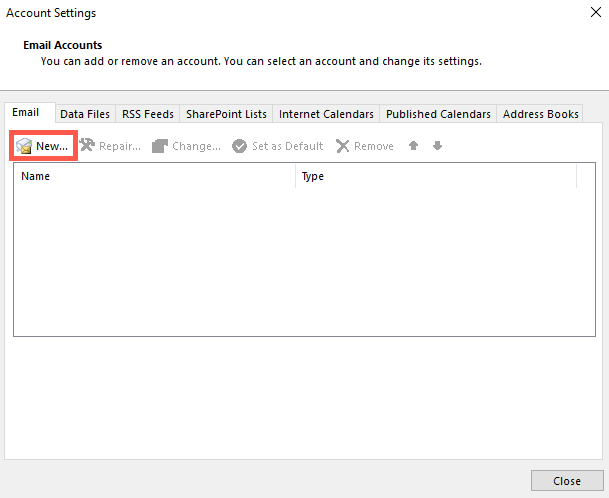
- Click the New… button in the Account Settings window to get started, or click File in the top menu, then Add Account.
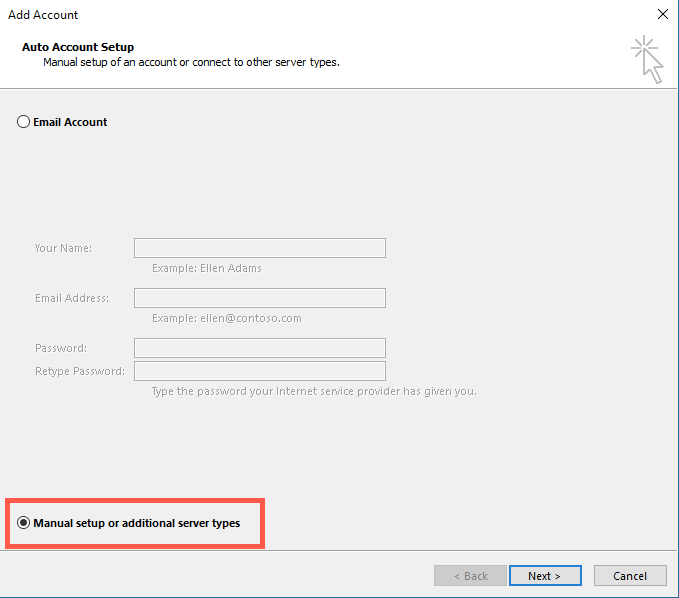
2. Click the radio button next to Manual setup or additional server types, then Next > to proceed.
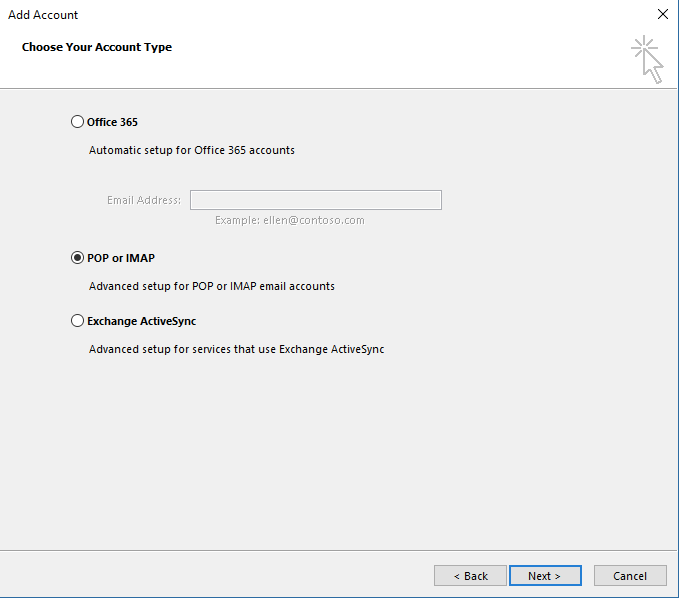
3. Under Choose Your Account Type, select POP or IMAP, then click Next > once again.
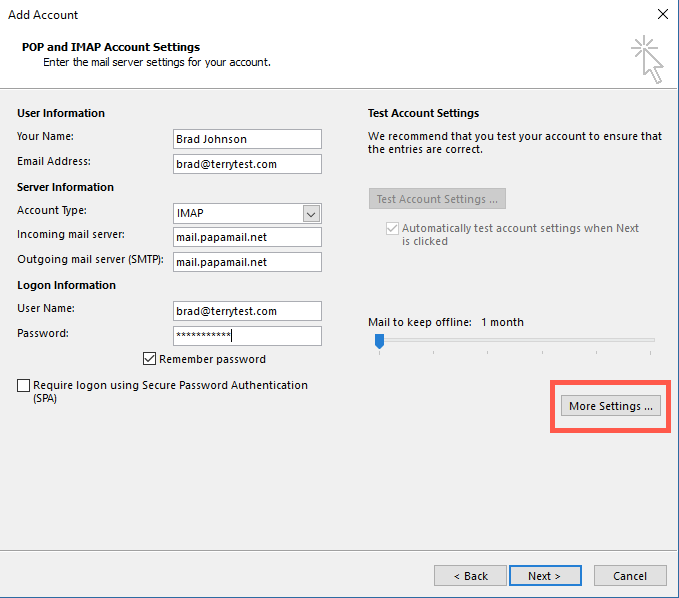
4. Enter the IMAP server settings for your email account. You can find your server settings in your HostPapa Dashboard by heading to My cPanel > Email Accounts and selecting Set Up Email Client.

5. Enter the following details:
- Email Address: Your full email address.
- Password: Your email server password.
- User Name: Your email account user name.
- Account Type: Use the dropdown menu to select IMAP.
- Incoming Mail Server: For HostPapa Basic and Advanced IMAP accounts, use papamail.net. For domain-hosted services, check your email server details in cPanel.
- Outgoing Mail Server (SMTP): For HostPapa Basic and Advanced IMAP accounts, use papamail.net. For domain-hosted services, check your email server details in cPanel.
- Logon Information: Enter your email account username and password.
6. Click the More Settings… button.
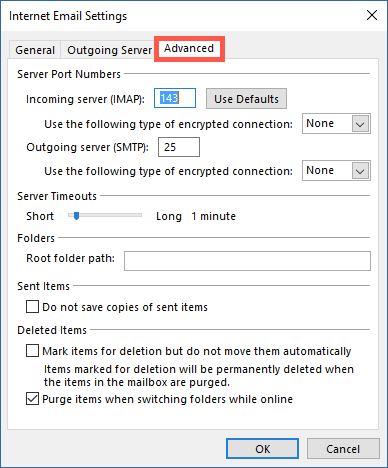
7. In the Internet Email Settings window, select the Advanced tab.
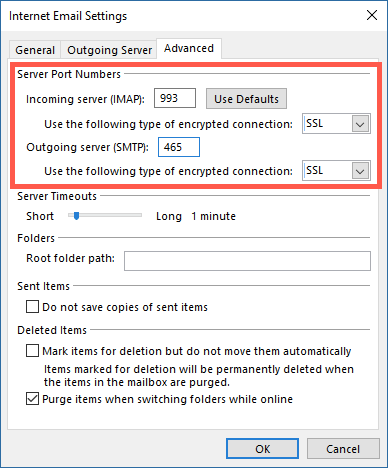
8. Enter the following details:
- Incoming server: Ensure the default port is set to 993 for IMAP accounts. Use the dropdown menu next to Use the following type of encrypted connection to select SSL.
- Outgoing server (SMTP): Change the default port (25) to 465. Use the dropdown menu next to Use the following type of encrypted connection to select SSL.
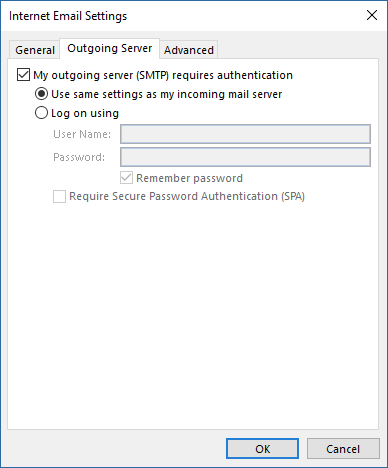
9. Switch to the Outgoing Server tab. Check the box next to My outgoing server (SMTP) requires authentication, then click the radio button next to Use same settings as my incoming mail server.
10. Click OK to close the Internet E-mail Settings window, then Next > to proceed. Outlook will now test your email settings. If the test fails, make sure your server and account details are correct.
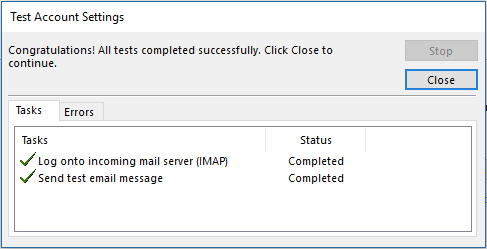
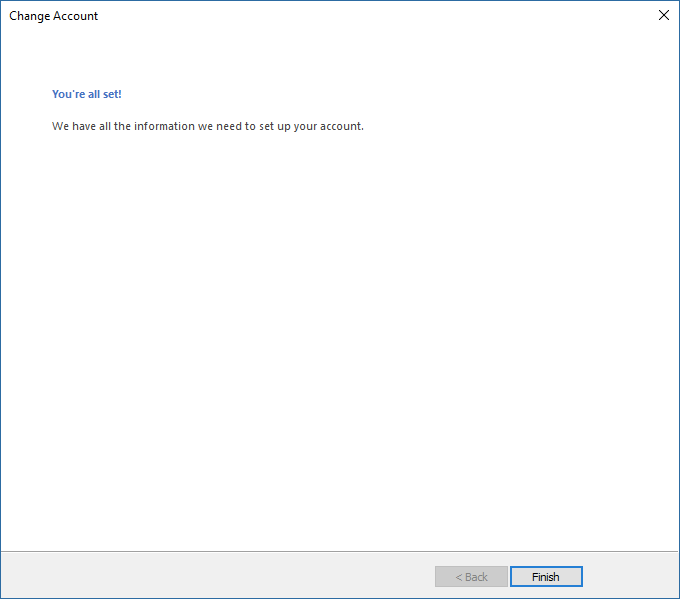
11. Once the test completes successfully, click Close and then Finish to wrap up.
Restore your mailbox
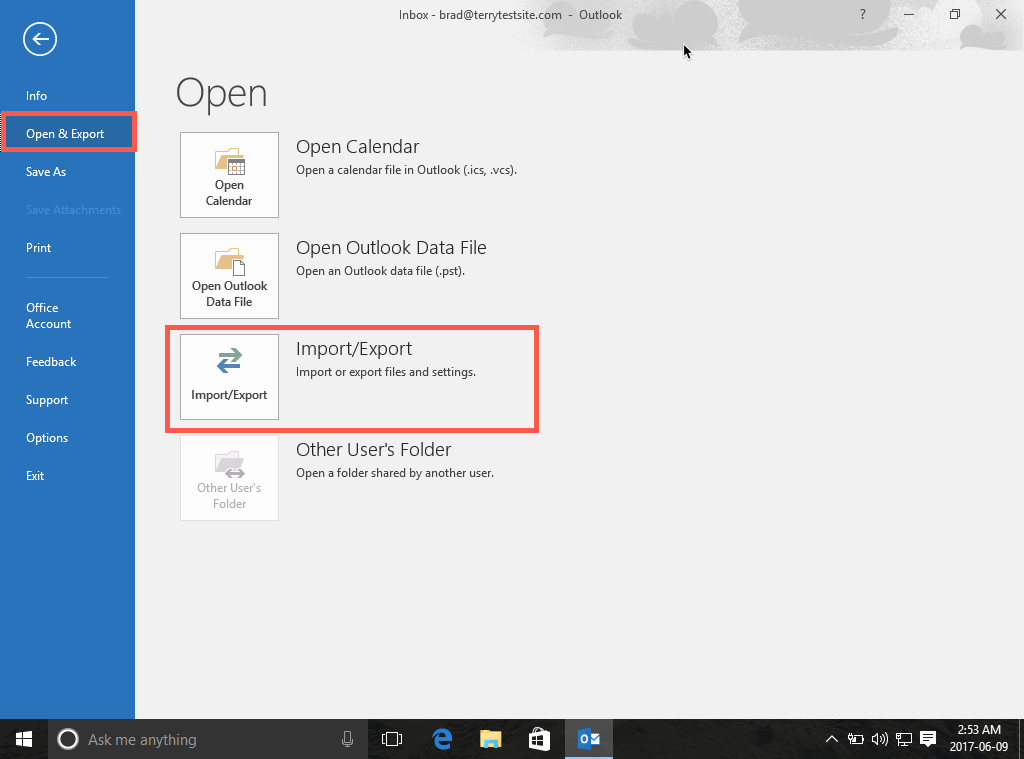
- If you wish to restore the mailboxes and email you backed up earlier, choose File from the top menu, then Open & Export. Now select Import/Export.
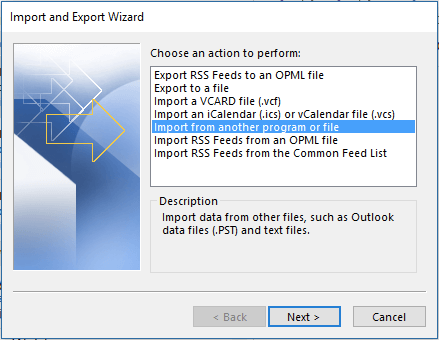
2. In the Import and Export Wizard window, select Import from another program or file and click Next >.
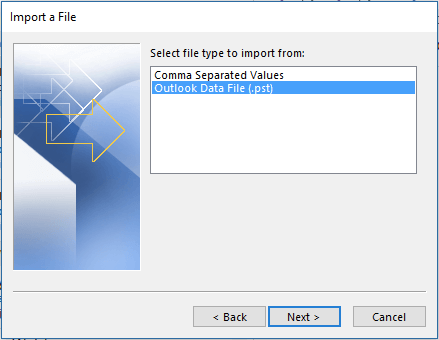
3. Click Import a File, select Outlook Data File (.pst), and then Next >.
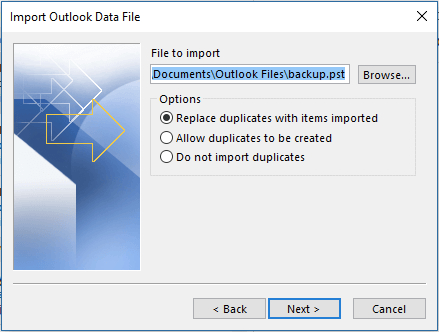
4. Use the Browse button to navigate to your Outlook backup file. When restoring your email and mailboxes, you can use the radio buttons under Options to configure how Outlook treats duplicate items. Click Next > to continue.
5. If you secured your backup with a password, you’ll be asked to enter it once again to authorize the import. Enter the password, then click OK.
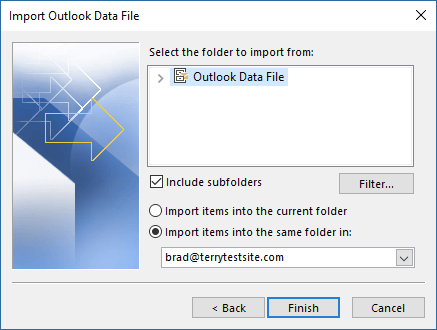
6. Finally, use the dropdown menu to select which folder you’d like to restore your data into and click Finish to complete.
If you need help with your HostPapa account, please open a support ticket from your dashboard.
